

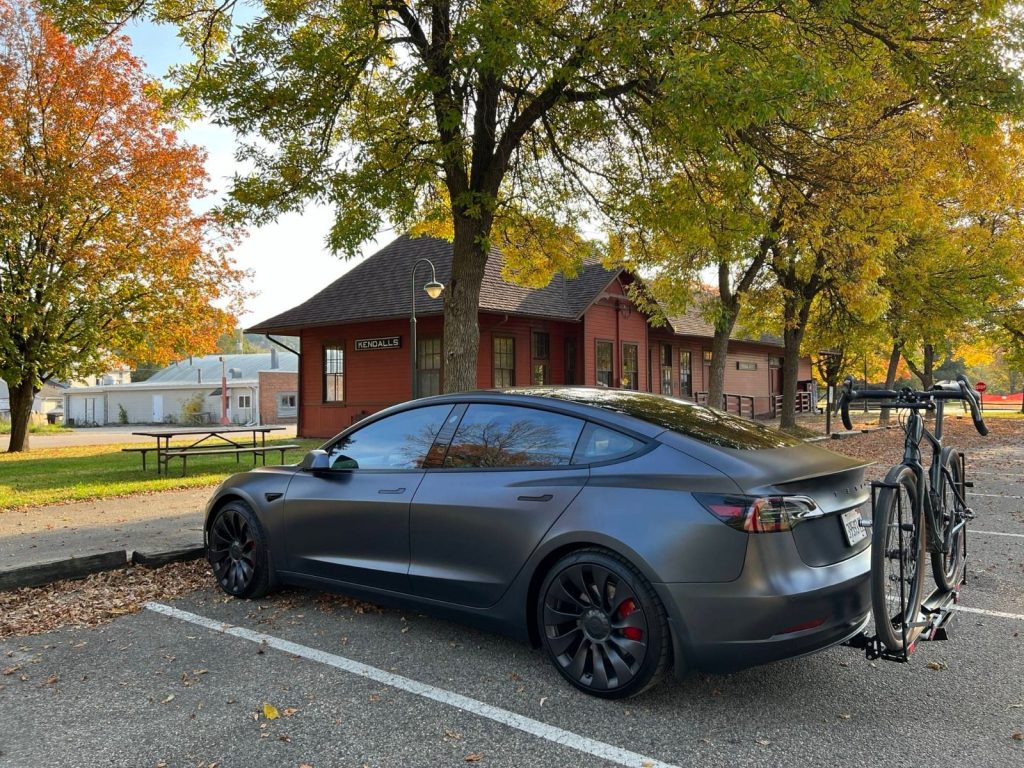
Your Tesla Model 3 is already sleek, stylish, and speedy. But with the EcoHitch, it becomes the ultimate towing machine—ready to haul bikes, cargo, or whatever your next adventure demands. Follow this step-by-step guide, and you’ll have your EcoHitch installed in no time (and with your sense of humor intact).
Step 1: Pop Those Plastic Pins


Start by removing the three plastic pop pins in each rear wheel well. Then, grab a Torx driver and remove the hidden screw. Repeat this on both sides. It’s like Tesla’s version of a treasure hunt.
Step 2: Dig Into the Bumper


Remove the tabs along the rear of the bumper fascia and the bolts under the plastic rear pan. For bonus points, locate three extra bolts closer to the front of the undercarriage felt. Pro tip: Pull the felt down gently to access the center bolt.
Step 3: Open Up the Trunk


Inside the trunk, remove the rests and middle plastic cover. Give the plastic cover a gentle tug—it’s held on with snap clips, not magic glue. Next, pop out all the plastic pins on both sides, peel back the felt, and remove the nuts holding the taillights. Unplug the lights and carefully pop them out.
Step 4 - 5: Free the Bumper


Remove two hidden bumper fascia bolts located under the taillights. Then, starting at the wheel well, gently (but firmly) pop the bumper fascia free. Repeat this on the opposite side. It’s teamwork time—having a second person on hand to support the bumper will save you from scratches. Be sure to disconnect the sensor plug from the chassis on the passenger side and store it in a safe place.
Step 6: Say Goodbye to the Cross Member


Locate the three cross member nuts on each side and remove them. Then, remove the plastic bumper fascia clip bracket and store it safely. Scrape off any excess epoxy from the frame to ensure the hitch sits flush. Bonus: You’ll feel like a pro mechanic at this stage.
Step 7: Hitch It Up!
Install one nylon washer over each stud on the frame. For 2020 and older models, insert M10 bolts with washers into the hitch. Place the factory cross member over the studs and secure it with the original flange nuts. Torque everything to 50 ft-lbs. Your EcoHitch is starting to look right at home.
Step 8 - 9: Secure and Center
Vehicles 2020 and earlier will have four studs per side and vehicles 2021 and newer will have three studs per side. Place the hitch frame side plates over the nylon washers and studs. Center it carefully and secure it with the factory flange nuts. Torque to 50 ft-lbs, ensuring everything is aligned like a perfectly parked Tesla.
Reinstall the bumper fascia clip bracket above the cross member making sure to clip the ends into the body first.
Step 10: Time for a Custom Cut

Place the bumper on a work surface to prep for the EcoHitch’s receiver. Measure carefully along the center rib and mark your cuts. If you’re using a 4-inch hole saw, leave room for hand clearance when attaching the hitch. Cut and trim as needed, creating an oval-shaped opening.
Step 11 - 12: Reassemble the Rear
Reinstall the bumper fascia with care. Snap it back into place starting from the middle and working outward. Don’t forget to reattach all bolts, snaps, and taillights. A few gentle taps with your fist will ensure everything is snug.
Step 13 - 15: Finishing Touches
Insert the stainless steel hitch receiver into the vertical receiver. Secure it with the provided 5/8” bolt, lock washer, and flat washer. Torque the bolt to 112 ft-lbs—your EcoHitch is ready to roll! Be sure to retorque the receiver before each use.
Ready to Tow Like a Pro?
Congratulations! Your Tesla Model 3 is now towing-capable, all while keeping its modern, stealthy vibe. Whether you’re hauling bikes to the trail or gear for a road trip, your EcoHitch is up for the challenge.
Need help or have questions? The Torklift Central team is here to make sure your installation is smooth and stress-free. Share your EcoHitch adventures with us using #EcoHitch—we’d love to see your Tesla in action!