

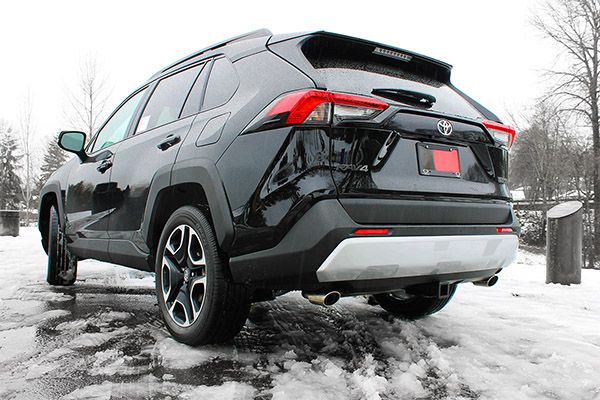
Your Toyota RAV4 is the perfect adventure companion—but why not make it even better? Installing the EcoHitch gives your ride the power to tow bikes, trailers, and all the gear you need for your next big trip. The best part? It’s easier than you think. Follow this guide, and you’ll be road-trip-ready in no time.
Step 1: Exhausting Beginnings

Start by removing the exhaust on both sides of your vehicle. A bit of WD-40 or a similar lubricant will help loosen those rubber exhaust hangers. Once removed, support the exhaust with a stand, block of wood, or wire. You’re already off to a great start!
Step 2: Mark Your Territory

Locate and mark the center of the bumper fascia by measuring between the two tabs on the bottom edge. If your RAV4 has a kick sensor, unclip and temporarily remove the wires for safekeeping. We promise this will all make sense soon.
Step 3: Cut to Impress
Draw a rectangle (2-5/8" wide by 4" or 4-3/4" tall, depending on whether your RAV4 is hybrid or not) at the center of the bumper. Carefully trim the cutout. Channel your inner artist—but stick to straight lines.
Step 4: Sticker Removal Time

On each side of the vehicle frame, locate the mounting holes. If they’re covered with stickers, peel them off. It’s like unwrapping a present, but with a little more purpose.
Step 5: Hitch It Up

This is where you might want a helper. Raise the hitch into position and check for cutout clearance. If adjustments are needed, now’s the time. Note: You may need to remove the factory tow hook for easier installation. (Don’t worry, it doesn’t need to be reinstalled.)
Step 6: Secure the Hitch
Align the side plates of the hitch with the mounting holes in the vehicle frame. Insert an M12 bolt with a lock washer and flat washer into each hole and hand-tighten. Repeat the process on the opposite side. It’s coming together beautifully!
If you’d like to install the plug bracket, align it under the chain plate on the left side. Insert the provided bolts, washers, and nylock nuts to secure it. Hand-tighten for now.
Step 7: Torque It Down
Now it’s time to make everything secure. Torque all M12 hardware to 70 ft-lbs and any 1/4" hardware to 96 in-lbs. Reinstall the exhaust to its rubber hangers, and voilà—you’re done!
Ready for the Open Road?
Need help or have questions? The Torklift Central team is here to support you every step of the way. Whether you’re gearing up for a family road trip or a solo camping escape, your RAV4 is ready to tow in style.
Happy adventures, and don’t forget to tag us in your #EcoHitch moments!