Step 1: Open Sesame

Start by opening the tailgate and lifting the floor panel in the trunk. Remove the plastic cover by unsnapping the four tabs. It’s like uncovering a secret compartment—except this one holds the key to your towing future.
Step 2: The Tale of Two Taillights


Remove the plastic push pins on both sides of the trunk and pop off the caps above each taillight. Pull back the trunk side panels to reveal two nuts holding each taillight. Unplug the wiring harness, then gently (but firmly) pull the taillights rearward until they pop free. It’s like giving your Model Y a mini facelift!
Step 3: Clip It, Rip It


Time to tackle the bumper fascia. Remove two plastic pop pins from each wheel well liner, then head to the bottom of the bumper and remove six more pop pins and seven bolts. Once that’s done, unsnap the wheel well fenders to access the bolts hidden behind them.
Step 4 - 5: Unplug and Play


Carefully unclip the bumper fascia starting from the upper corners. You’ll find a wiring harness on the passenger side—unplug it before fully removing the bumper fascia. Set it aside in a safe place, and pat yourself on the back—you’re making progress!
Step 6 - 7: Say Goodbye to the Cross-Member


Remove the sensor bar by unscrewing the four bolts holding it to the frame. Then, unclip each side of the sensor bar and remove it. Next, remove six nuts securing the cross-member mounting brackets, and take out the cross-member with brackets attached.
Step 8: Hitch It Up
Now for the main event! Place the EcoHitch cross-member onto the hitch studs and secure it using the six factory nuts you removed earlier. Torque the nuts to 38 ft-lbs to make sure everything is secure. On the passenger side, thread a bolt through the side plate and into the cross-member weld nut. Torque that bolt to 25 ft-lbs.
Step 9 - 10: Washers and Alignment

Slide a few nylon washers onto the bottom studs, then align the hitch with the mounting points. Reinstall the factory nuts and torque them to 38 ft-lbs. Make sure the hitch is centered before tightening everything down.
Remove the plastic panel from the bumper fascia. Reinstall the sensor bar, the bumper and all other components in reverse order.
Step 11: Trim Time
Remove the plastic panel from the bumper fascia and trim it according to the provided template. This will give your hitch a perfect, seamless fit. Use a reciprocating saw or a similar tool for precision cuts.
Step 12: The Magnetic Cover
Drill holes in the plastic panel and attach the magnet plate with the provided hardware. This clever cover snaps into place using magnets when the hitch isn’t in use, keeping your Model Y looking sleek and stylish.
Step 13: Reassemble and Admire
Put the bumper fascia back on, reconnect the wiring harness, and snap everything into place. Reinstall the taillights, trunk panels, and floor cover. Take a step back and admire your work—you’ve just transformed your Tesla Model Y into a towing machine!
Ready to Hit the Road?
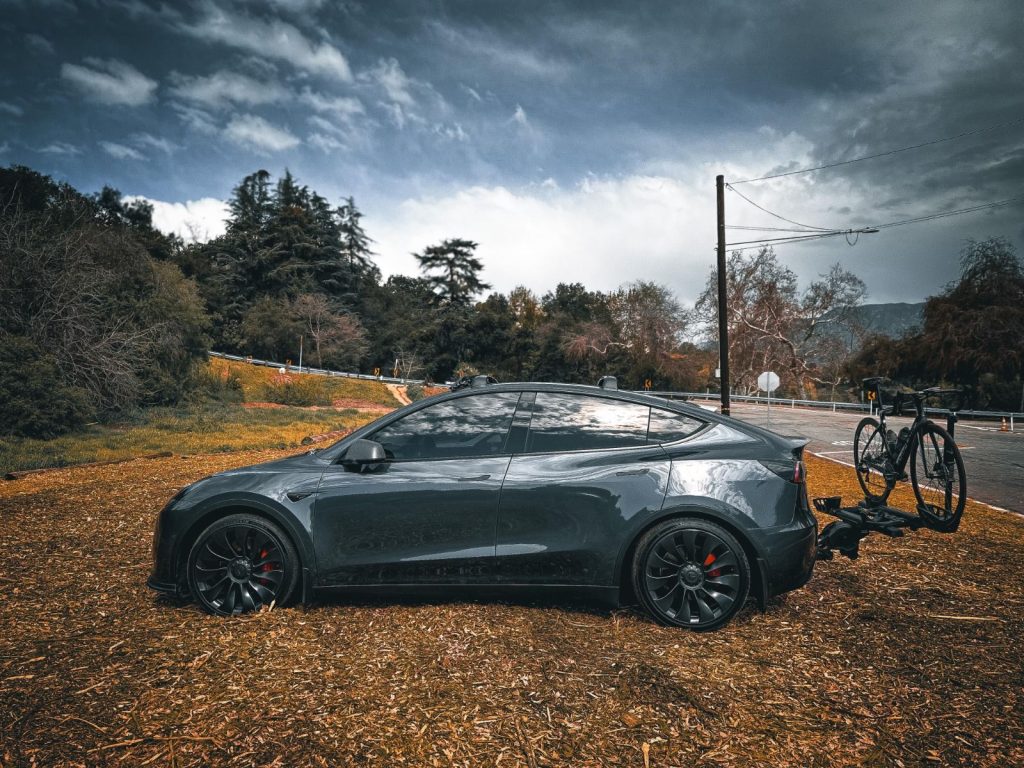
Congratulations! Your Tesla Model Y is now ready to haul gear, bikes, or whatever adventure calls for. The EcoHitch makes sure you’re set for any trip, whether it’s a weekend getaway or a full-on road trip.
Need help or have questions? The Torklift Central team is here to assist you. Happy towing, and don’t forget to share your #EcoHitch adventures with us!