
If you’re looking to add more utility to your Hyundai Santa Fe, the EcoHitch X7484S is a great upgrade for carrying bikes, cargo trays, or towing light loads. The good news? This install is very manageable with basic tools and a little patience.
In this guide, I’ll walk you through the installation process step-by-step in a way that’s easy to follow, even if this is your first hitch install.
Before You Start
Recommended Tools:
- Socket set
- Torque wrench
- Trim removal tool
- Jack stands or lift
- Bolt fisher (included with hitch)
Installer Tip: Keeping your hardware organized during the install makes reassembly much easier.
Step 1: Prepare the Vehicle
Before installing the hitch, you’ll want to safely raise the vehicle and clear some working space underneath.
- Using the factory-approved jacking points, raise the rear of the vehicle and support it securely on jack stands
- Lower the spare tire and remove it from the cable during installation
Always work on a stable surface and make sure the vehicle is safely supported before going underneath.
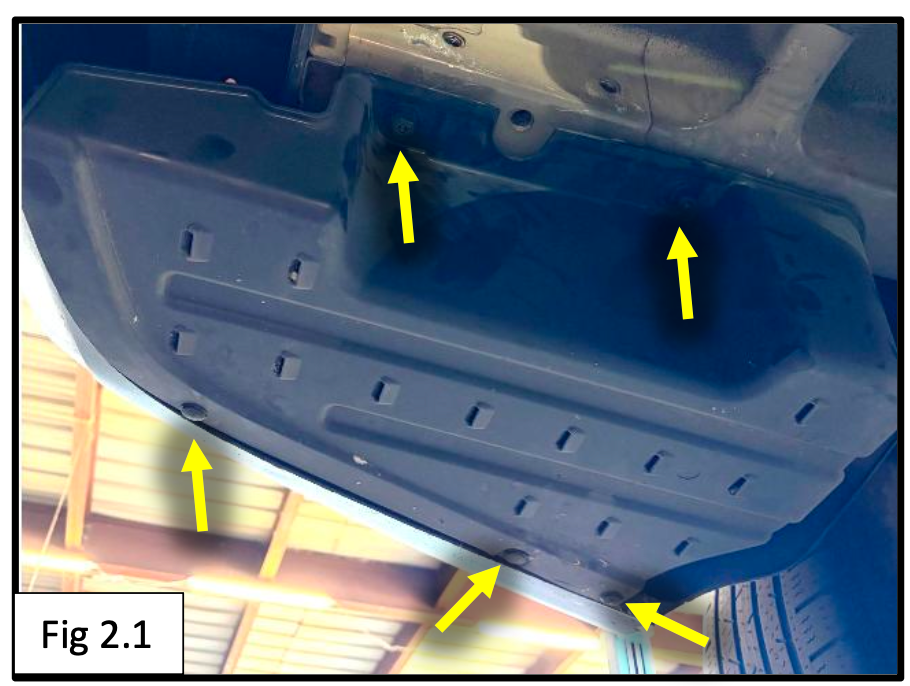
Step 2: Access the Frame & Fish the Hardware
Now we’ll prep the mounting points and install the internal hardware.
Remove Driver-Side Cover
On the driver side of the rear bumper:
- Remove the plastic cover by:
- Unclipping the three push clips
- Unscrewing the plastic nuts
This opens access to the mounting area.
Lower the Exhaust Slightly
- Unhook the three rearmost exhaust hangers
- Allow the muffler to hang slightly for extra working room
A little spray lubricant on the rubber hangers can make removal much easier.

Prepare the Frame Holes
- Remove the plugs from the bottom of the frame on both sides of the vehicle
These openings will be used to fish the hitch hardware into place.

Fish the Bolts Into the Frame
Using the included bolt fisher:
- Place:
- A 1/2” internal tooth lock washer
- A plate washer
onto an M12 bolt
- Thread the bolt fisher onto the bolt
- Feed the hardware into the frame one piece at a time until the bolt threads hang down through the mounting hole
- Remove the bolt fisher
Repeat on the opposite side.
Take your time during this step, once you get the feel for bolt fishing, it becomes much easier.
Step 3: Raise and Install the Hitch
Now it’s time to mount the EcoHitch.
- Place:
- 1/2" split lock washers
- Flat washers
onto the remaining M12 bolts
- Raise the hitch into position and thread the bolts into the factory frame holes
The location of the bottom fished bolt may vary slightly depending on your specific Santa Fe model.
Secure the Fished Bolts
Install:
- 1/2” flat washer
- Split lock washer
- M12 hex nut
onto the fished bolts.
Torque Specifications
Torque all M12 hardware to:
70 ft-lbs (95 Nm)
Once tightened:
- Reinstall the spare tire
- Raise it back into position
Step 4: Optional Driver-Side Cover Trim
You have two options for the plastic cover removed earlier:
Option 1:
Leave the cover off entirely.
Option 2:
Trim and reinstall the cover for a cleaner finished appearance.
If reinstalling:
- Perform the trim shown in the instructions
- Trim only the raised portion needed for hitch clearance
Start with a small trim and test fit often for the cleanest result.

Installation Complete
That’s it, you’ve successfully installed the EcoHitch X7484S on your Hyundai Santa Fe.
You now have a clean, hidden hitch solution ready for:
- Bike racks
- Cargo carriers
- Light towing applications