

A friendly, step-by-step guide for first-time installers
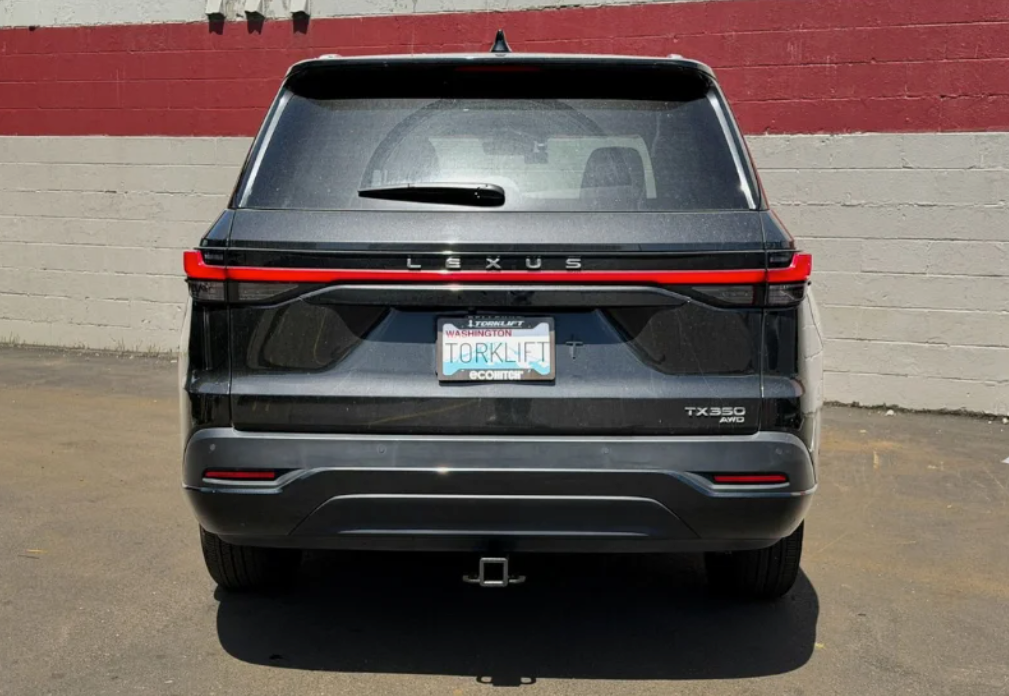
Good news right out of the gate: this is one of the easiest hitch installs you can do. The X7530LS EcoHitch for the 2024–2026 Lexus TX is a true bolt-on, no cutting, no drilling, and no removing your bumper or taillights. Everything mounts up to existing holes and factory threads under the back of the vehicle. If you’ve got a couple of hours and a torque wrench, you’ve absolutely got this.
Think of me as the installer standing right next to you at the vehicle. I’ll tell you what to expect at each step, point out the spots where people occasionally slow down, and keep you moving with confidence. Read this guide start to finish before you pick up a tool, keep your hardware organized, and take your time. Do that, and you’ll end up with a clean, professional result you can be proud of.
| Good to know: This hitch is rated for a 750 lb tongue weight and a 5,500 lb trailer weight. Always stay within these numbers and your Lexus TX factory tow rating, whichever is lower. |
Before You Start: Tools & Time
This is a short install, but it still pays to gather everything before you begin. Here’s what you’ll want within arm’s reach:
•A way to safely lift the rear of the vehicle (a lift, ramps, or a floor jack with jack stands rated for the weight)
•Wheel chocks for the front tires
•A thin plastic pry tool (for popping out the frame-hole plugs)
•A 3/4" socket and wrench (for the 1/2" hex bolts and nuts)
•An 18 mm socket (for the M12 bolts) and a 13 mm socket (for the M8 bolts)
•A ratchet with an extension, and a torque wrench — required for tightening every bolt to spec
Time needed: plan on about 1 to 1.5 hours for your first install. It goes even faster with a helper to hold the hitch in place while you start the bolts.
| Heads-up: Chock the front tires, then raise the rear of the vehicle and rest it on ramps or jack stands. If you’re using a lift, use only the approved lifting points. Never work under a vehicle supported by a jack alone. |
What’s in the Box
Lay everything out and check it against this list before you begin. A quick inventory now saves you from stopping mid-install to hunt for a washer later.
| Part | Reorder SKU / Item # | Qty |
| Crosstube (with stickers) | X7530S-A1 | 1 |
| Passenger frame plate | X7530S-W2-P | 1 |
| Driver frame plate | X7530S-W2-D | 1 |
| M12-1.25 x 40 mm hex bolt (10.9) | 3661 | 4 |
| 1/2" SAE flat washer | 7465 | 16 |
| 1/2" split lock washer | 9302 | 10 |
| M8-1.25 x 35 mm hex bolt (10.9) | 12869 | 2 |
| 5/16" USS flat washer | 6025 | 4 |
| 5/16" split lock washer | 3507 | 2 |
| 1/2"-13 x 1-3/4" hex bolt (Grade 8) | 13741 | 6 |
| 1/2"-13 hex nut (Grade 8) | 1751 | 6 |
Step 1: Lift the Vehicle Safely
First things first — get the back of the TX up in the air and rock-solid before you climb underneath.
•Chock the front tires so the vehicle can’t roll.
•Raise the rear of the vehicle off the ground and set it securely on ramps or jack stands.
•If you’re using a hoist or lift, use only the manufacturer-approved lifting points.
Step 2: Mount the Frame Plates
Now you’ll bolt a frame plate to each side of the vehicle. These are what the hitch attaches to. The key word for this step is loose — you’re just getting the plates started and holding, so save final tightening for Step 3 when everything is lined up.
Start on the passenger side:
•Using a thin pry tool, pop out the three plastic plugs from the frame on that side (Figure 2.1).
•Onto each of two M12 x 40 mm hex bolts, slide a 1/2" split lock washer, then a 1/2" flat washer.
•Lift the first frame plate into place over the frame holes on the outside of the frame, and start the two M12 bolts by hand. Leave them loose for now (Figure 2.2).
•Onto one M8 x 35 mm bolt, slide a 5/16" split lock washer, then two 5/16" flat washers.
•Thread that M8 bolt through the bottom frame-plate hole and into the factory threads (Figure 2.3).
•Repeat all of the above on the driver side.
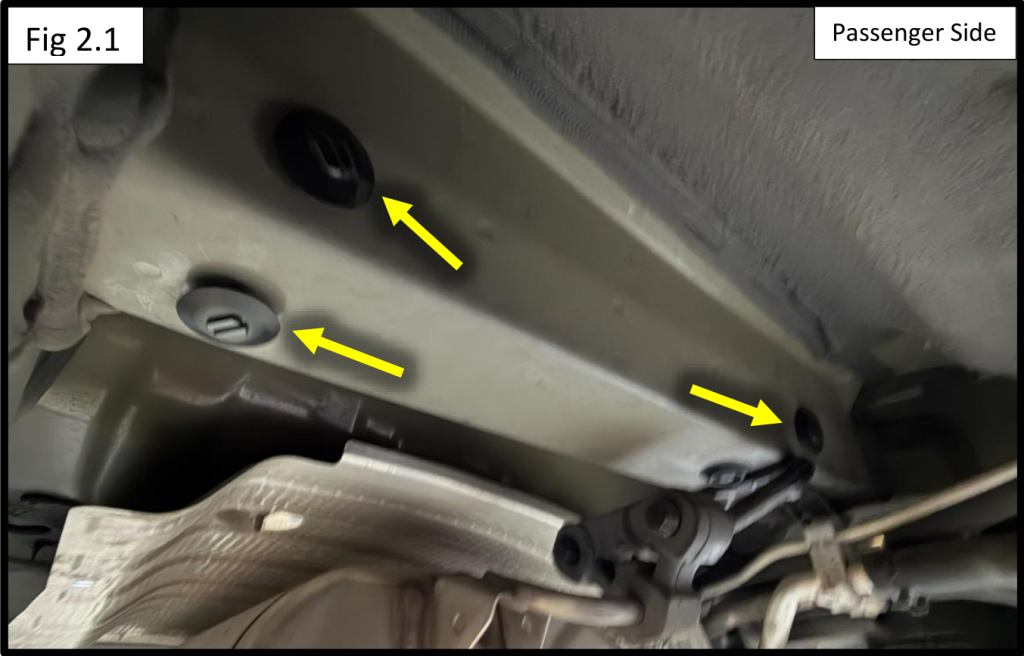
Figure 2.1 — The three plastic frame plugs to remove (arrows).
Figure 2.2 — Frame plate started on the M12 bolts (arrows). | Figure 2.3 — The M8 bolt into the factory threads (arrow). |
| Pro tip: Get all the plate hardware started by hand before you snug anything. Leaving the bolts loose gives the plate a little wiggle room, which makes lining up the hitch in the next step much easier. |
Step 3: Hang the Hitch and Torque Everything
Home stretch — the hitch goes up now. You’ll lift it between the two frame plates, run the bolts through, then snug and torque everything to spec. This is where a helper really earns their keep.
•Slide a 1/2" flat washer onto each of the six 1/2" x 1-3/4" hex bolts.
•Raise the hitch up into position between the two frame plates.
•Insert the bolts through the frame plates and through the crosstube ring holes (Figure 3.1).
•On the back of each bolt, add a 1/2" flat washer, a split lock washer, and a 1/2" hex nut.
•Snug down all of the hardware — the plate bolts and the hitch bolts — before you torque anything.
•Now torque everything to spec, in the values below.
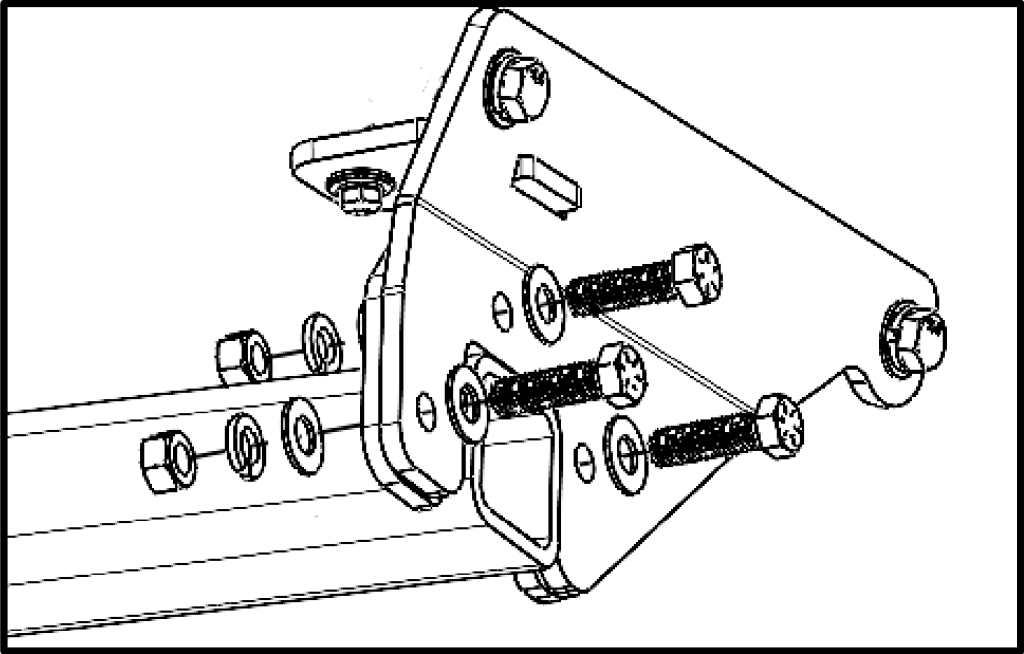
Figure 3.1 — Bolts through the frame plate and crosstube ring holes.
| Torque values: M8 bolts → 25 ft-lbs (34 Nm)M12 bolts → 80 ft-lbs (108 Nm)1/2" bolts → 80 ft-lbs (108 Nm) |
| Important: Use a torque wrench on every fastener — don’t just eyeball it. Proper torque is what keeps your hitch safe and solid on the road. Snug is not the same as torqued. |
You’re Done — Installation Complete!
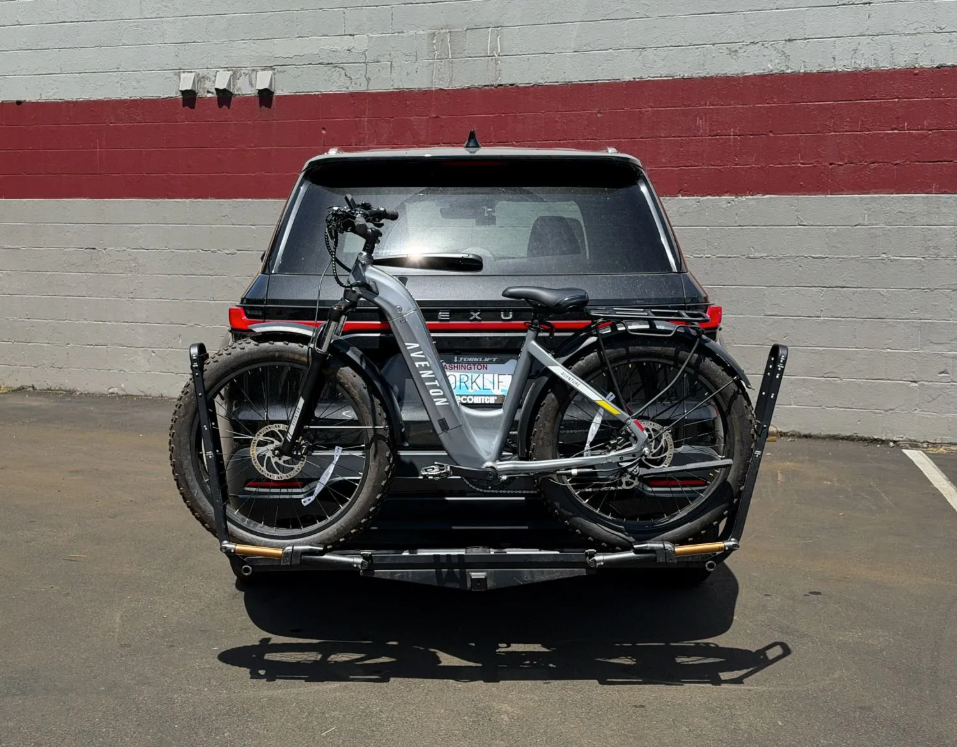
That’s it — nice work. For a first-timer, this is about as clean and simple as a hitch install gets: two frame plates, one crosstube, and everything torqued to spec. Take a quick look underneath and confirm the work: the M8 bolts at 25 ft-lbs, and the M12 and 1/2" bolts all at 80 ft-lbs.
Before your first tow, remember to stay within the 750 lb tongue / 5,500 lb trailer ratings — or your Lexus TX factory tow rating if it’s lower. Then hook up and you’re ready to roll. Great work.
| Final checklist: Both frame plates mounted • M8 bolts torqued to 25 ft-lbs • M12 bolts torqued to 80 ft-lbs • Six 1/2" hitch bolts torqued to 80 ft-lbs • All hardware snug before final torque |
***IMPORTANT NOTICE:
While EcoHitch® trailer hitches are built with high-strength materials and tested for exceptional weight ratings, your vehicle’s factory towing capacities are the ultimate limit. Always refer to your vehicle’s owner’s manual to determine its maximum towing and tongue weight ratings. No aftermarket hitch or accessory can increase your vehicle’s factory-rated towing capacities.
Using hauling accessories like extensions, cargo trays, bike racks, or other accessories that extend the load out from the trailer hitch, will significantly reduce the tongue weight capacity of your hitch system.
To estimate how your setup will affect tongue weight, we recommend using our Maximum Hitch Weight (Tongue Weight) Estimator before hauling your payload (cargo trays, bike racks, etc).
Disclaimer: It is the user’s responsibility to ensure safe towing practices and to confirm that all loads fall within the limits of the lowest-rated component in the towing system. Torklift is not liable for any damage or injury resulting from the misuse or overloading of towing/hauling equipment.