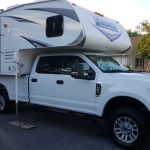
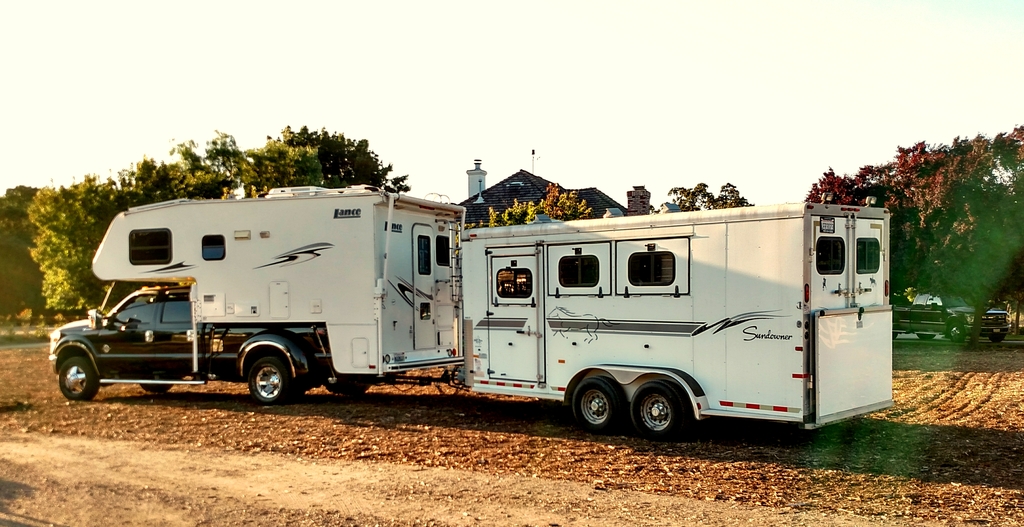
 Get out and go places other people can't with your truck camper![/caption]
A truck camper is one of the best ways to explore places that many others aren’t able to. Also known as a slide-in or cab-over camper, if you’re new to truck camping, mounting the camper in your pickup truck might seem intimidating. It’s actually a simple process that can be done in five simple steps. The more you practice mounting a truck camper, the less time it takes. Soon you’ll start to form a routine that you’ll know like the back of your hand!
[caption id="attachment_5074" align="alignright" width="337"]
Get out and go places other people can't with your truck camper![/caption]
A truck camper is one of the best ways to explore places that many others aren’t able to. Also known as a slide-in or cab-over camper, if you’re new to truck camping, mounting the camper in your pickup truck might seem intimidating. It’s actually a simple process that can be done in five simple steps. The more you practice mounting a truck camper, the less time it takes. Soon you’ll start to form a routine that you’ll know like the back of your hand!
[caption id="attachment_5074" align="alignright" width="337"]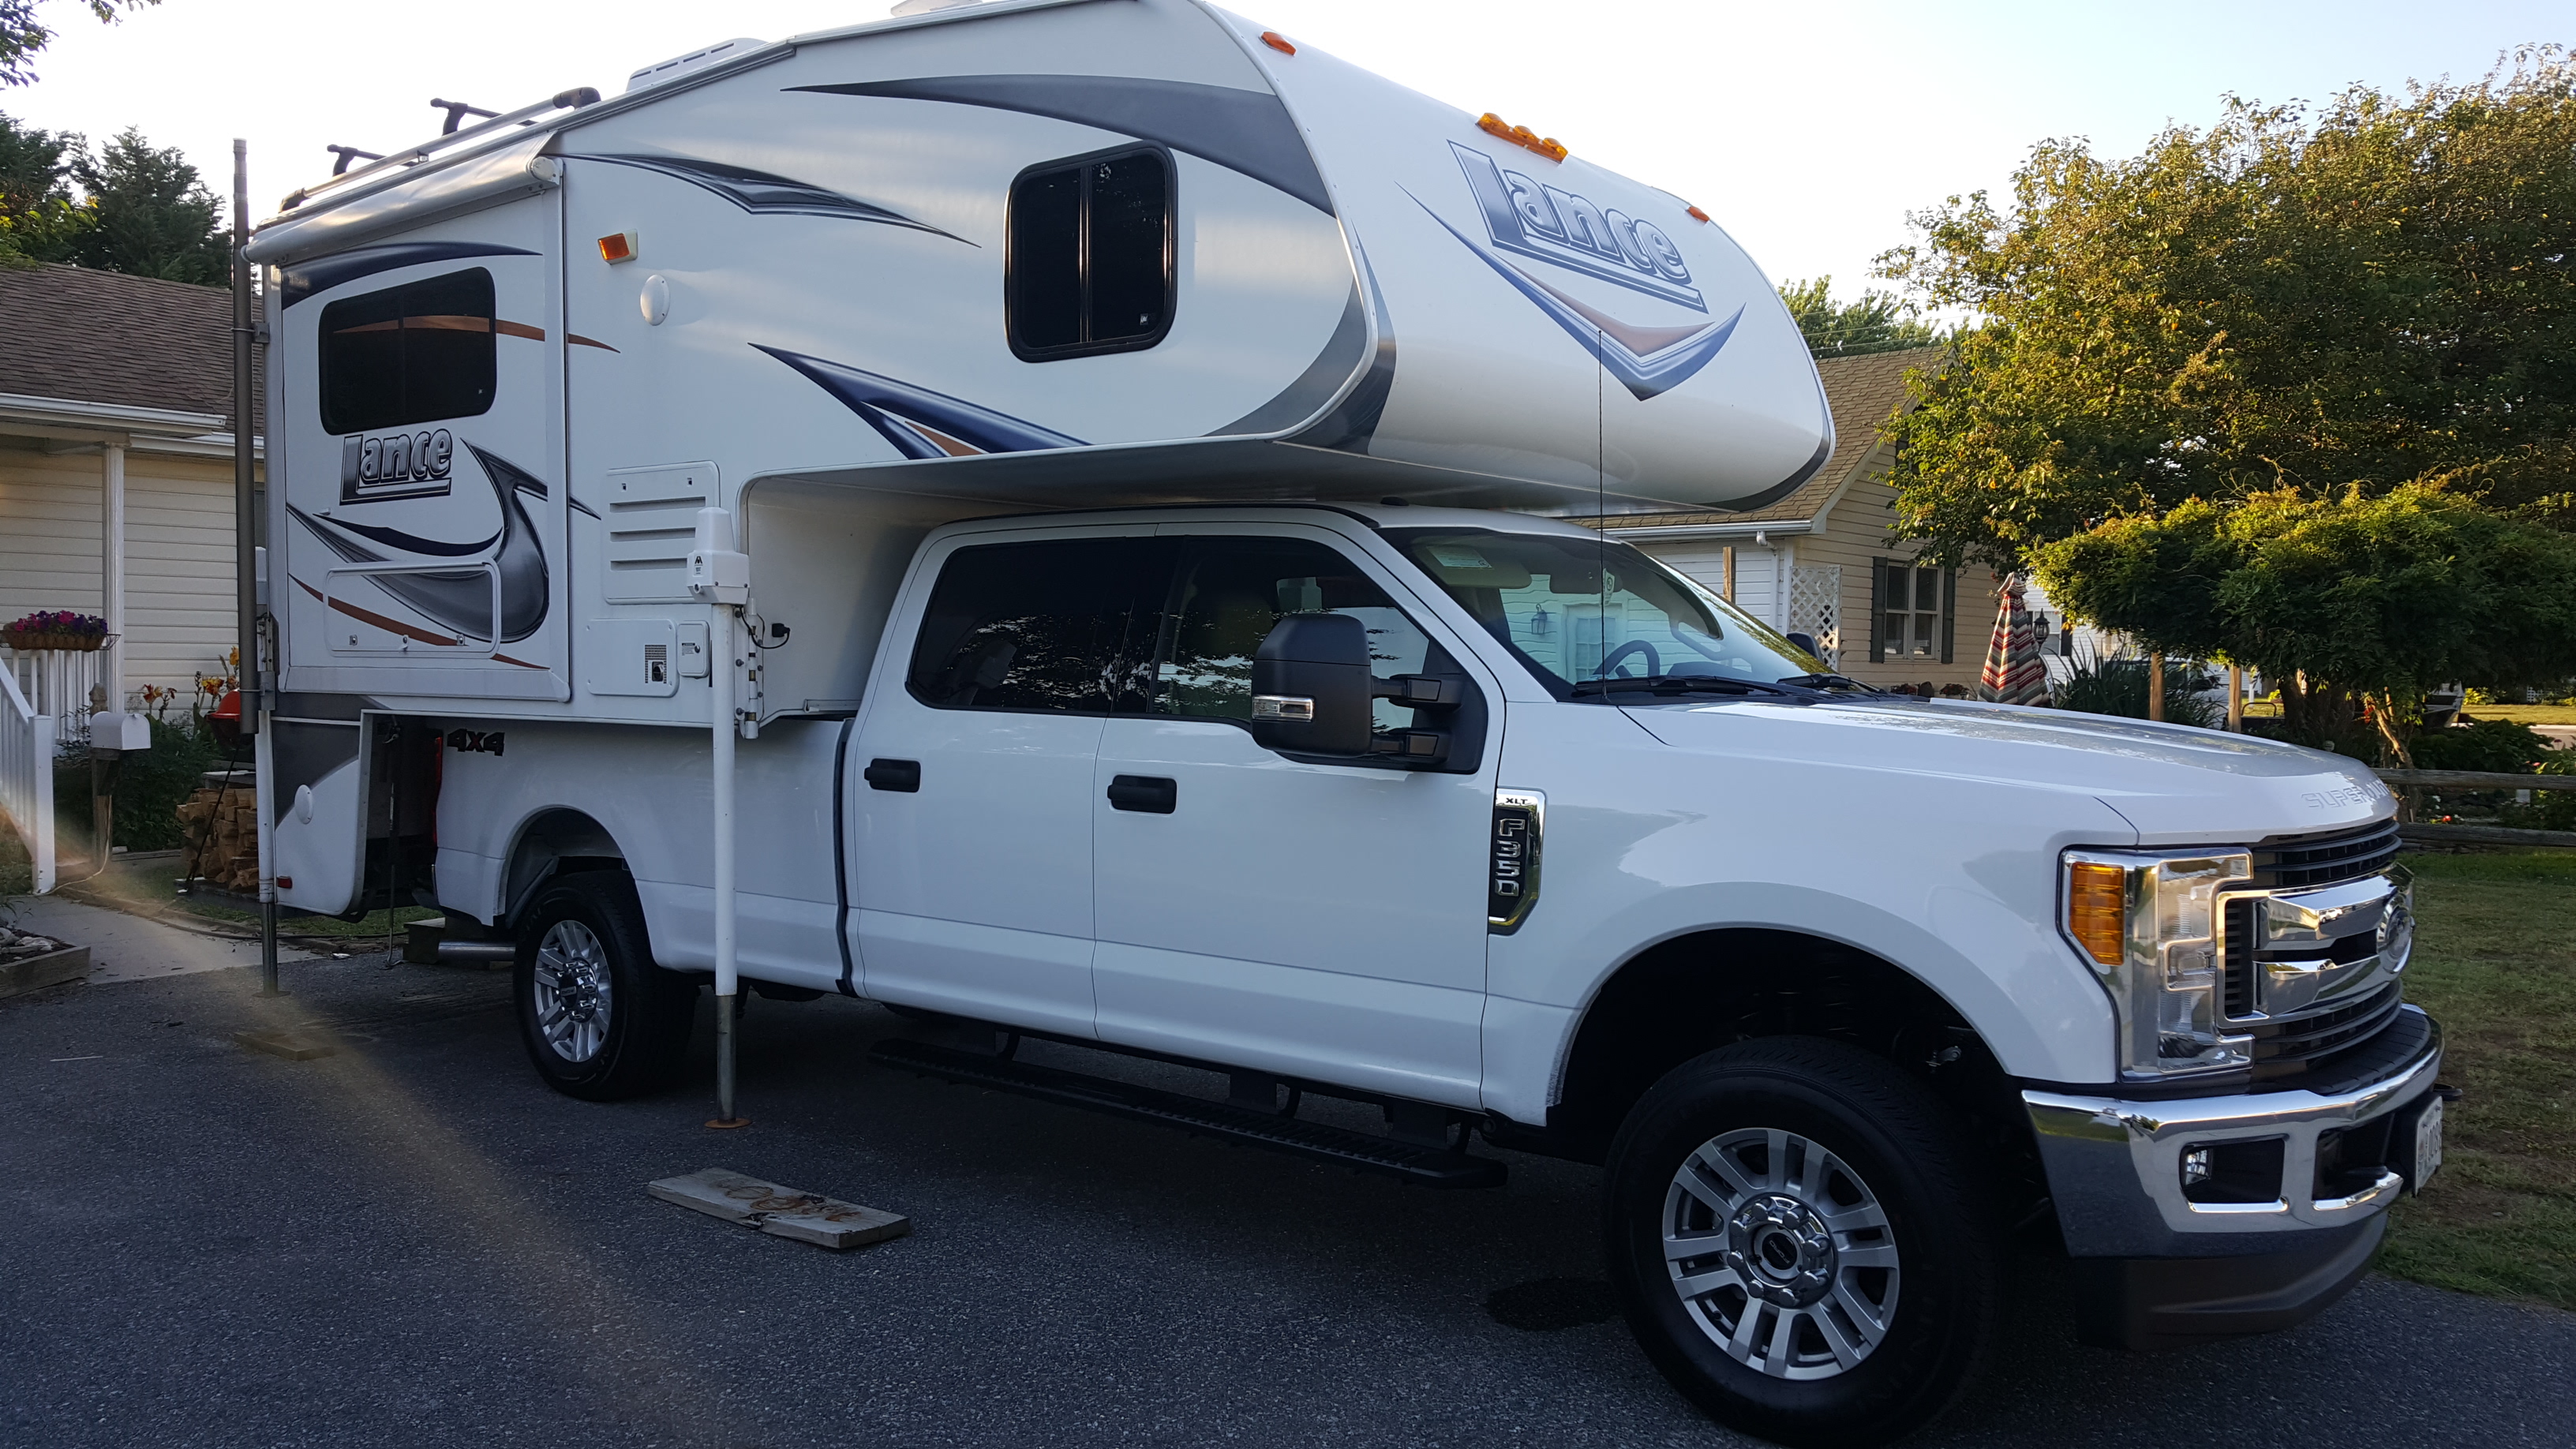 Make sure your truck camper is lifted high enough to clear your truck bed before mounting![/caption]
1. Raise the Truck Camper: This is the first step in mounting a truck camper and very important. If the camper isn’t lifted high enough, you can potentially run the rear of your truck into the front of your camper and cause damage to both. Usually it is best to lift it until it is about 2 to 6 inches above the bed of your truck. You should also raise it in small increments of just a few inches at a time.
Make sure your truck camper is lifted high enough to clear your truck bed before mounting![/caption]
1. Raise the Truck Camper: This is the first step in mounting a truck camper and very important. If the camper isn’t lifted high enough, you can potentially run the rear of your truck into the front of your camper and cause damage to both. Usually it is best to lift it until it is about 2 to 6 inches above the bed of your truck. You should also raise it in small increments of just a few inches at a time.
PRO TIP: Make sure to also raise the front of the camper first - then raise the back to bring it level. If you raise the rear first, there is a chance that the camper could tip forward due to it having more weight in the front because of the weight of the overhang.
[caption id="attachment_5076" align="alignright" width="294"]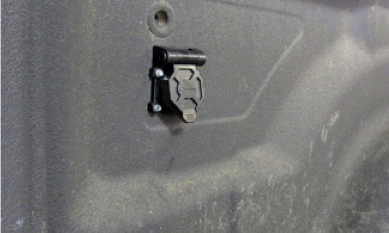 Make sure to plug in everything before lowering the camper.[/caption]
2. Back Your Truck Up: The next step is to back your truck up under the camper. You will want to make sure that the camper clears your truck's wheel wells and avoid contacting the truck camper jacks as you are backing up. Aim to be as close to center as possible.
Make sure to plug in everything before lowering the camper.[/caption]
2. Back Your Truck Up: The next step is to back your truck up under the camper. You will want to make sure that the camper clears your truck's wheel wells and avoid contacting the truck camper jacks as you are backing up. Aim to be as close to center as possible.
PRO TIP: As you do this more, you will get more and more comfortable with loading your truck camper. If you need additional assistance, you can line up the camper and truck by marking each with tape for a visual or using lasers for alignment. Most people put the tape in the middle of the tailgate and middle of the camper for perfect alignment in the center.
[caption id="attachment_5075" align="alignleft" width="306"]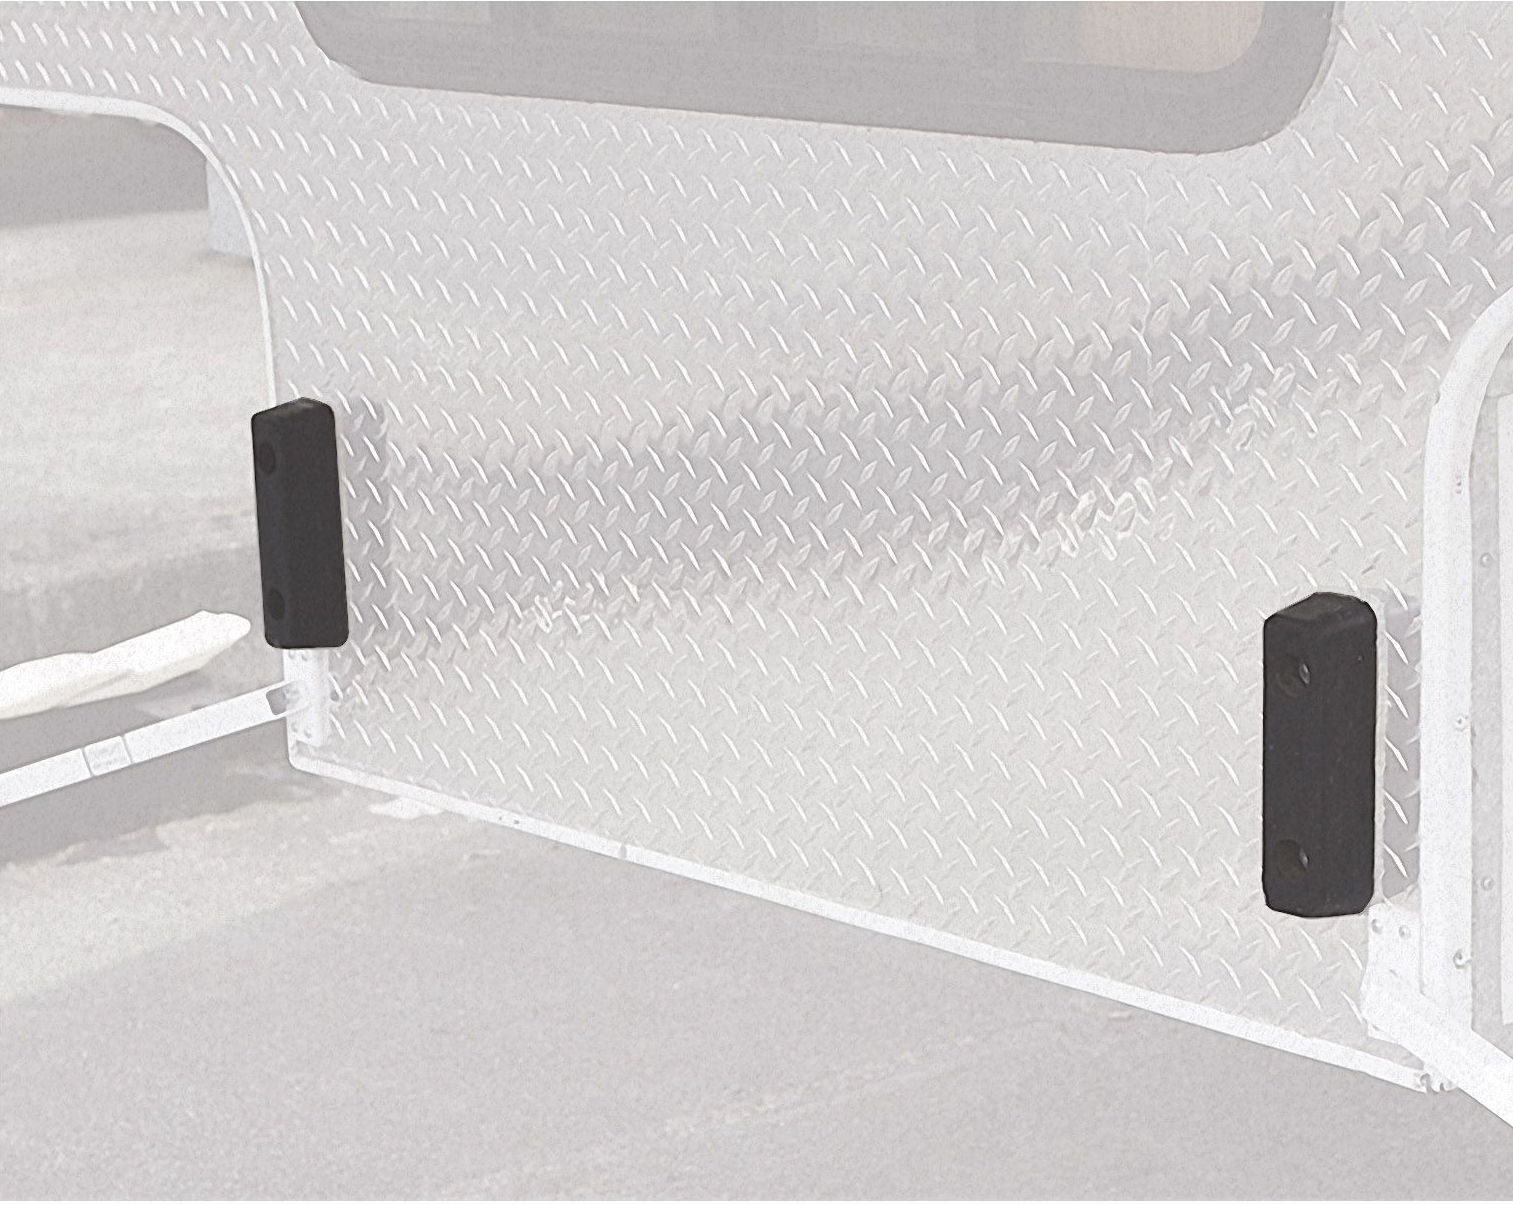 The Camper Bumper Kit is a great way to prevent damage while loading your camper.[/caption]
3. Connect the Wiring: Before your truck is completely backed into place beneath the camper, make sure truck and camper are stable. Then connect any wiring from the truck camper to the truck bed. It’s usually easier to connect the wiring before the camper is fully installed, especially if you have a truck bed socket. It’s also best to avoid dropping the camper on the wiring that has been plugged in, because that could also get damaged.
Once the wiring is completely plugged in, continue slowly backing your truck up until the camper is at the front of your truck bed or any previously added wood spacer blocks to prevent potential truck bed bulk head damage. To prevent potential damage, make sure that the back of the camper does not contact your truck cab, truck's bumper or tail lights.
The Camper Bumper Kit is a great way to prevent damage while loading your camper.[/caption]
3. Connect the Wiring: Before your truck is completely backed into place beneath the camper, make sure truck and camper are stable. Then connect any wiring from the truck camper to the truck bed. It’s usually easier to connect the wiring before the camper is fully installed, especially if you have a truck bed socket. It’s also best to avoid dropping the camper on the wiring that has been plugged in, because that could also get damaged.
Once the wiring is completely plugged in, continue slowly backing your truck up until the camper is at the front of your truck bed or any previously added wood spacer blocks to prevent potential truck bed bulk head damage. To prevent potential damage, make sure that the back of the camper does not contact your truck cab, truck's bumper or tail lights.
PRO TIP: A Camper Bumper Kit is the perfect addition to the front of your camper to prevent damaging the cab of your truck.
[caption id="attachment_5078" align="alignright" width="329"]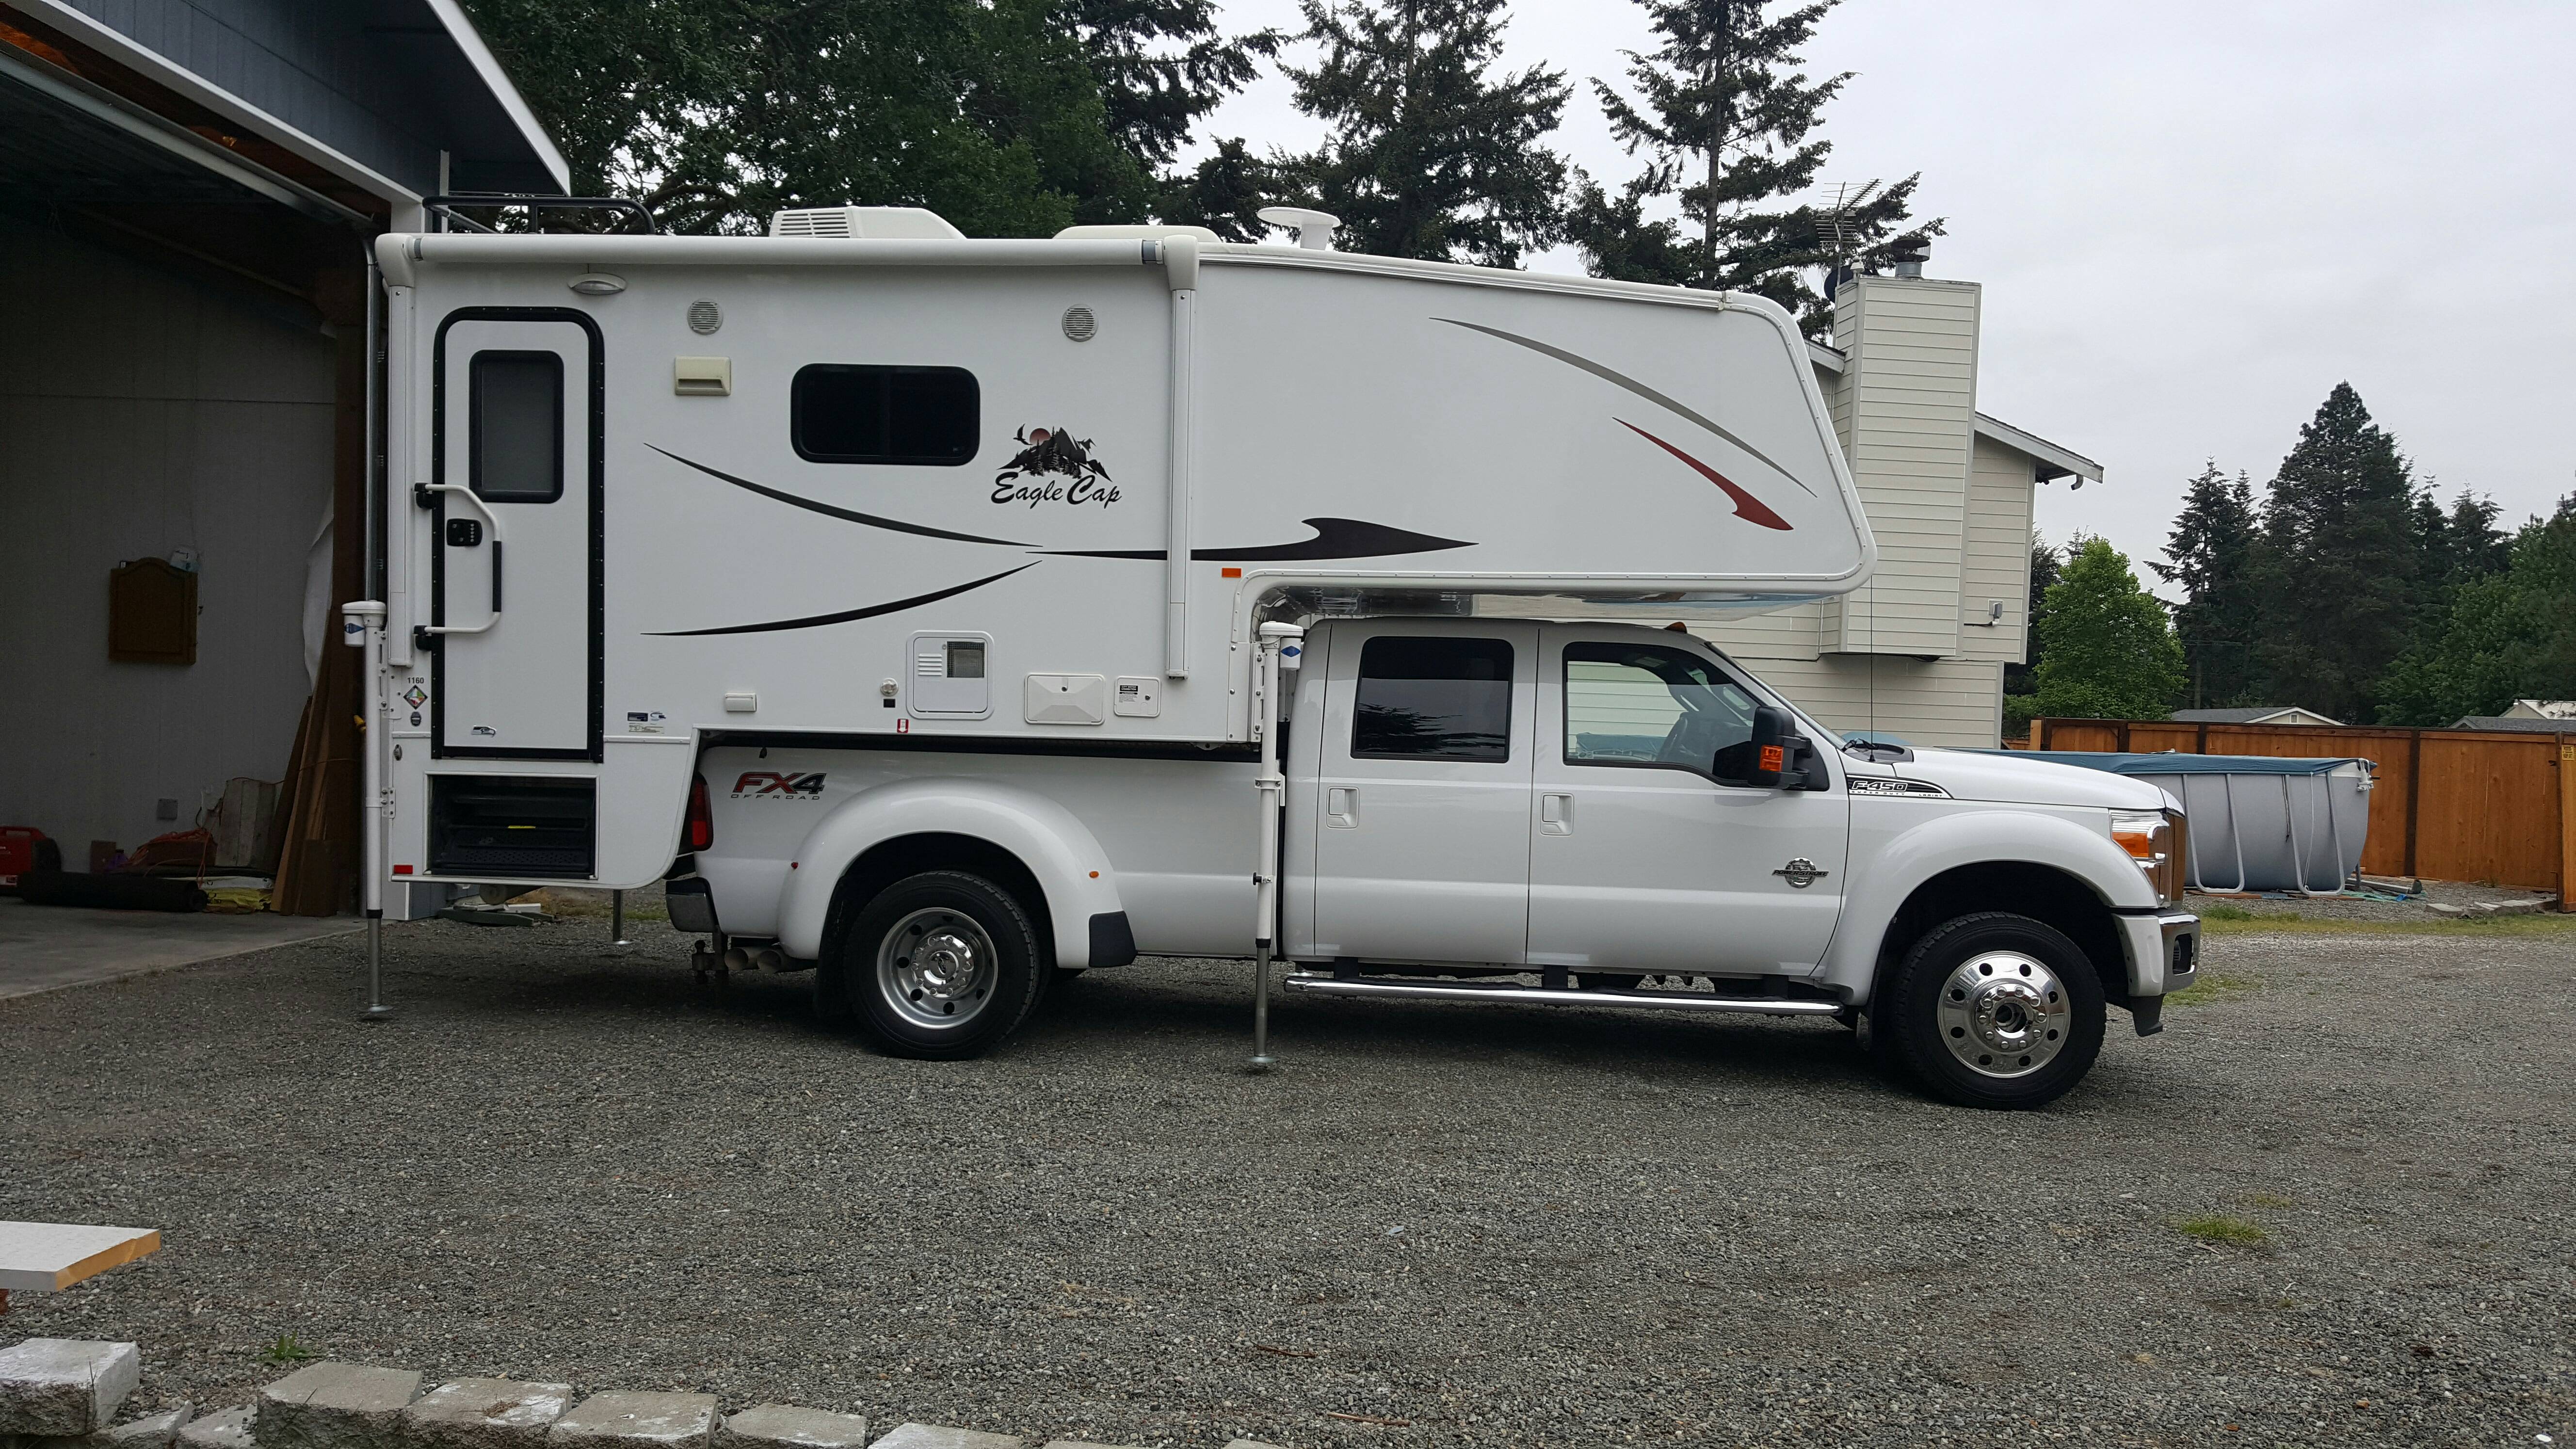 Make sure to lower your camper only a few inches at a time so you can easily make adjustments as you're mounting it![/caption]
4. Lower the Truck Camper: Now that your truck camper is over your truck, lower it down into the bed. Just as when you were lifting the camper - lower the back of the camper first, then the front. Lower it down in increments of a few inches at a time until the camper is resting securely in your truck bed.
Make sure to lower your camper only a few inches at a time so you can easily make adjustments as you're mounting it![/caption]
4. Lower the Truck Camper: Now that your truck camper is over your truck, lower it down into the bed. Just as when you were lifting the camper - lower the back of the camper first, then the front. Lower it down in increments of a few inches at a time until the camper is resting securely in your truck bed.
PRO TIP: Never place your Camper onto a plastic drop in bed liner. Not only can your truck camper can slide around in the bed of your truck but the drop in plastic bed liners act like a spring and actually cause a pogo stick bouncing action that can cause significant truck bed and camper anchor damage.
The hard surface spray-in bed liners do not work well without a rubber bed mat. The soft rubber type of spray-in bed liner works okay, but we strongly recommend a rubber bed mat. The rubber bed mat acts like the sole of a rubber tennis shoe and significantly increases friction to reduce any camper shifting. Not only does the rubber bed mat protect the bed of your truck, but also prevents excessive sliding. [caption id="attachment_5079" align="alignright" width="325"]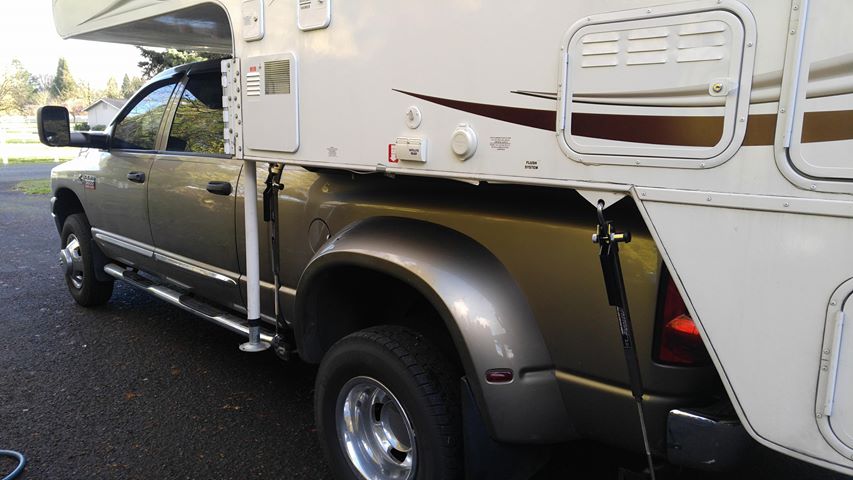 Use the safest way to attach your truck camper to your truck - tie downs and FastGun turnbuckles![/caption]
5. Secure the Camper: There are two major components to attaching your truck camper to the truck: tie downs and turnbuckles.
To hold your truck camper securely in your truck, you’ll need tie downs and turnbuckles. First, attach the turnbuckles to the anchor points on the camper and the tie downs on your truck and tighten them. Camper manufacturers recommend tightening your turnbuckles to 300 foot-pounds. The FastGun and SpringLoad XL turnbuckles are only turnbuckle that has built-in spring tension indicators that can help you adjust to the correct tension for holding down your truck camper.
Use the safest way to attach your truck camper to your truck - tie downs and FastGun turnbuckles![/caption]
5. Secure the Camper: There are two major components to attaching your truck camper to the truck: tie downs and turnbuckles.
To hold your truck camper securely in your truck, you’ll need tie downs and turnbuckles. First, attach the turnbuckles to the anchor points on the camper and the tie downs on your truck and tighten them. Camper manufacturers recommend tightening your turnbuckles to 300 foot-pounds. The FastGun and SpringLoad XL turnbuckles are only turnbuckle that has built-in spring tension indicators that can help you adjust to the correct tension for holding down your truck camper.
PRO TIP: too much tension can damage tie downs or rip out anchors on the camper, which can be an expensive fix. Avoid this by using spring tension indicators and spring-loaded turnbuckles like the Torklift FastGuns.
 For those of you who prefer to learn by watching video, here’s a wonderful video from amped79 on how to load a truck camper into the bed of your truck: https://youtu.be/m5sSo9ZFaoc
Truck Camper Tie Downs
[caption id="attachment_5073" align="alignleft" width="288"]
For those of you who prefer to learn by watching video, here’s a wonderful video from amped79 on how to load a truck camper into the bed of your truck: https://youtu.be/m5sSo9ZFaoc
Truck Camper Tie Downs
[caption id="attachment_5073" align="alignleft" width="288"]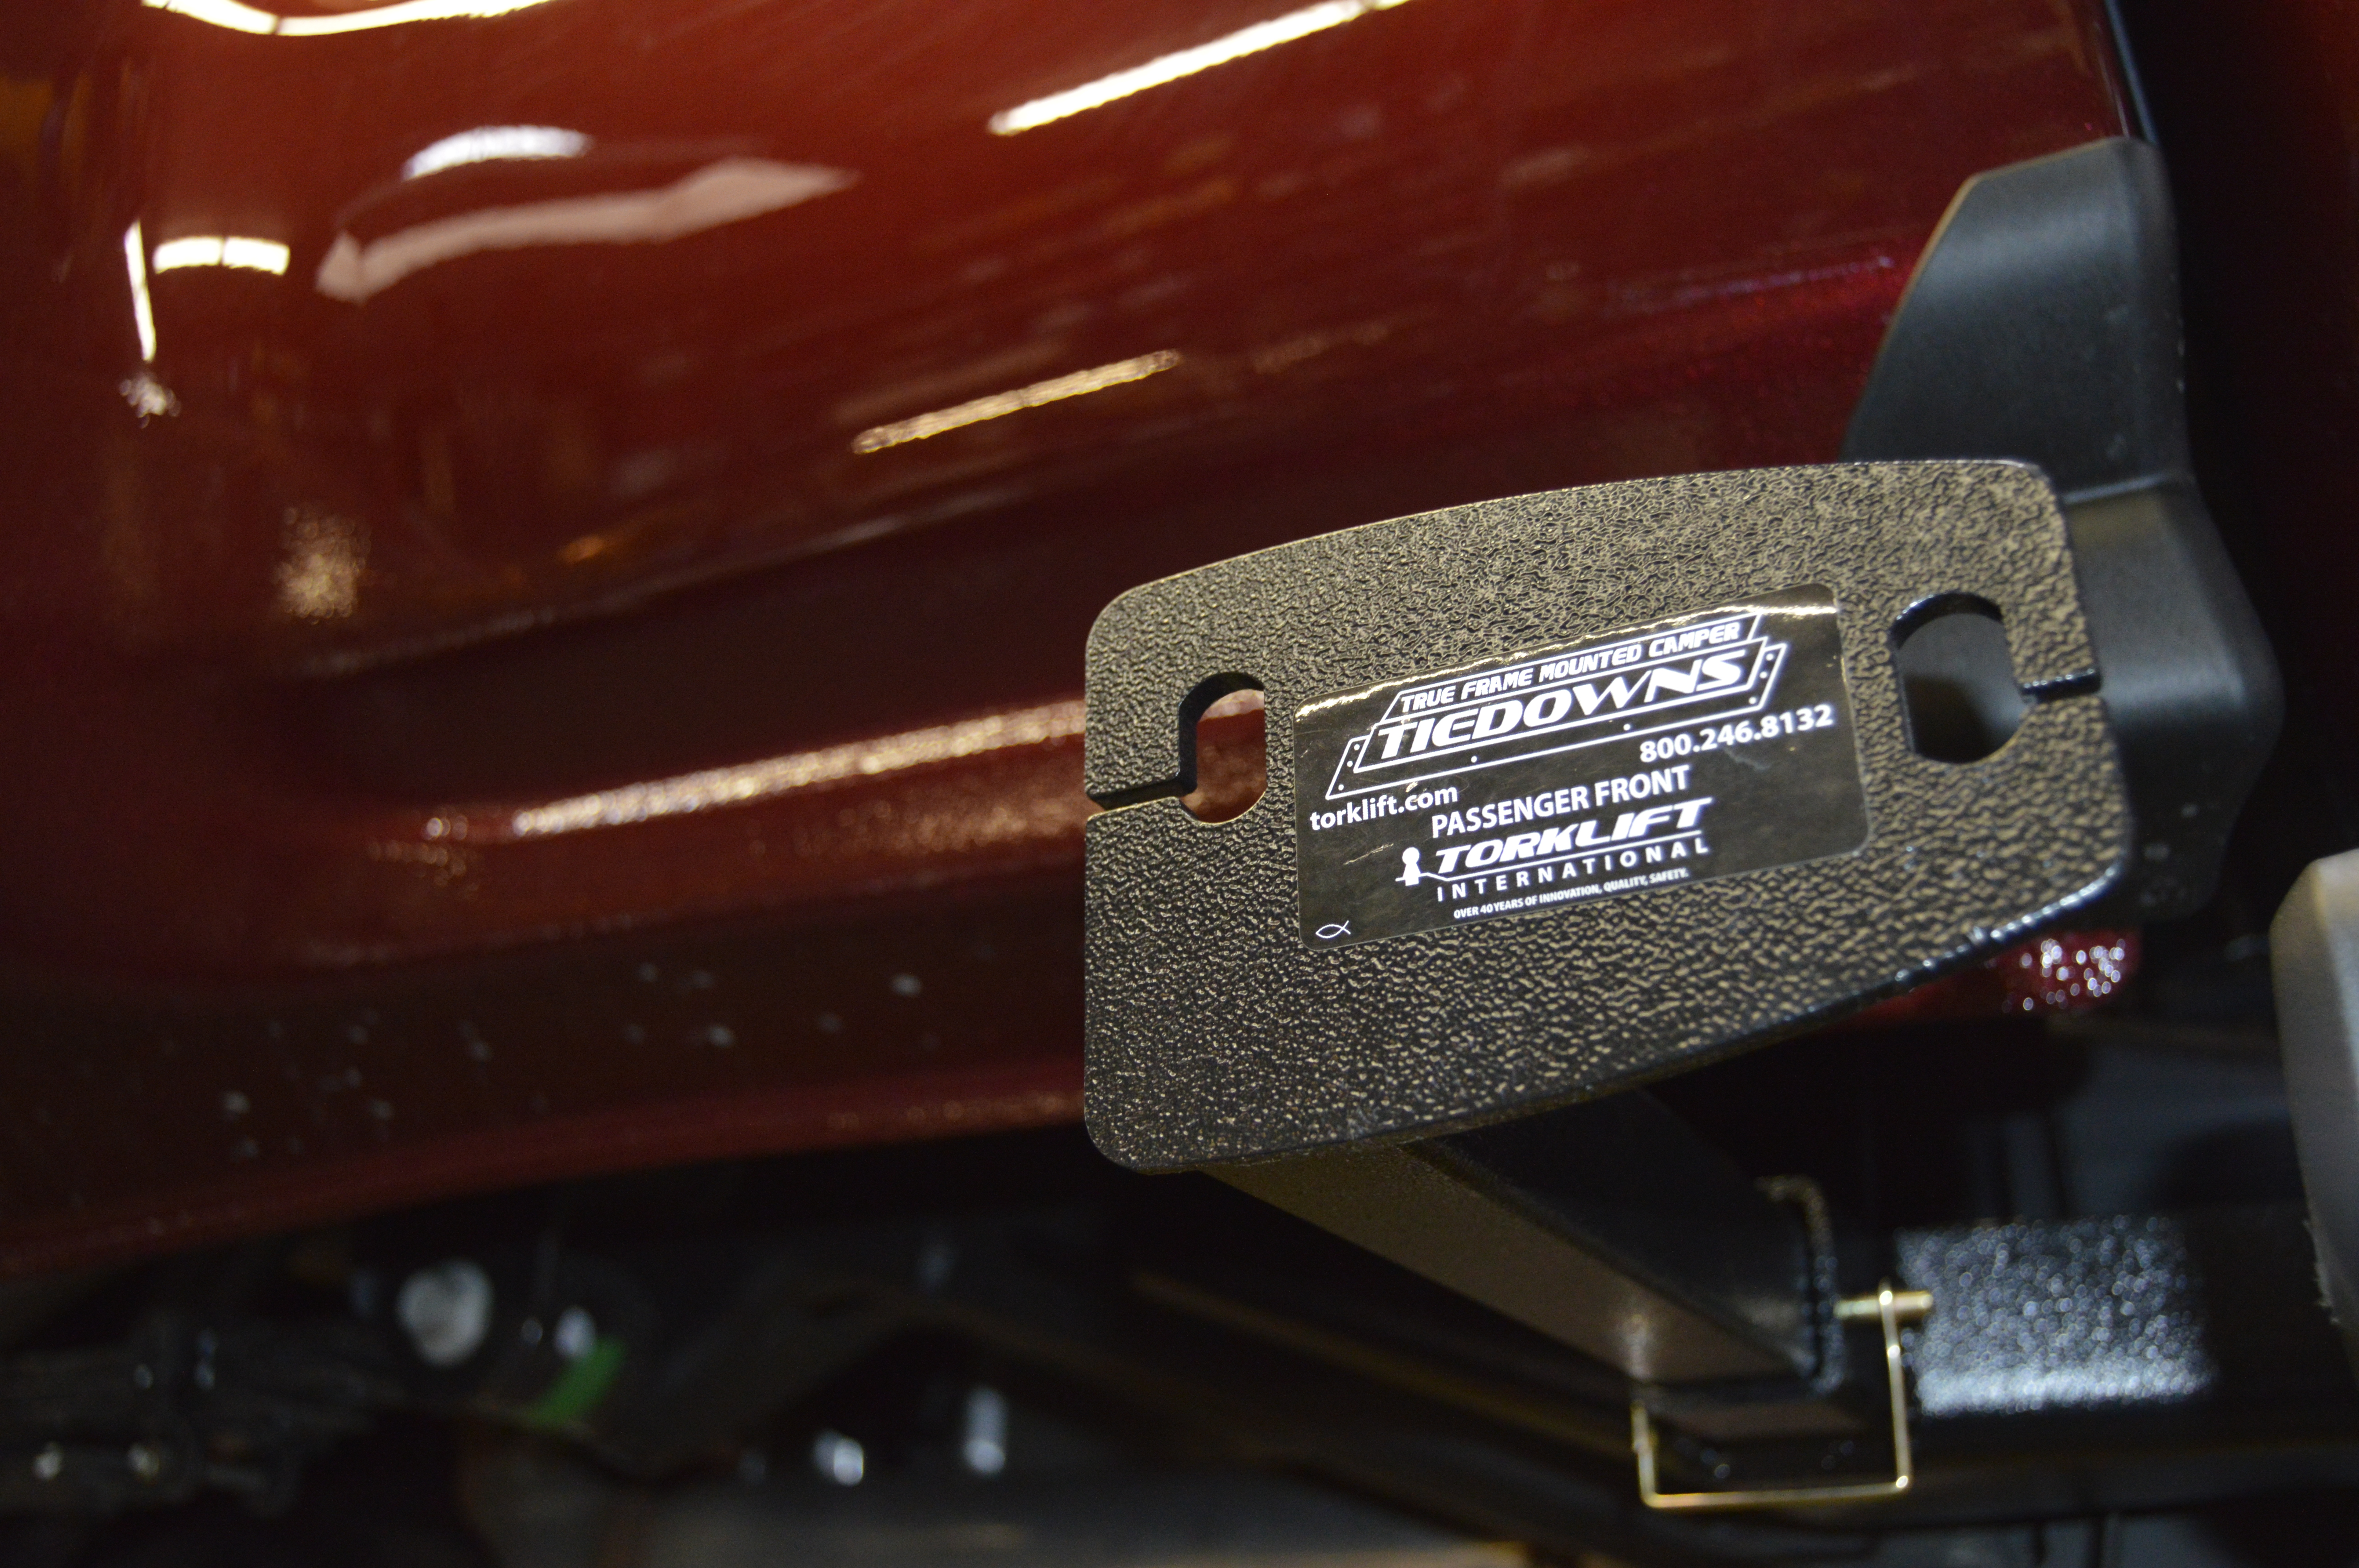 Frame-mounted tie downs attach to the strongest part of your truck for safe hauling![/caption]
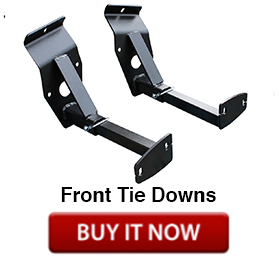
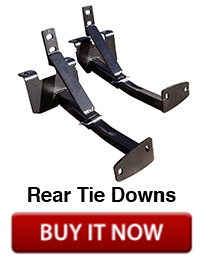
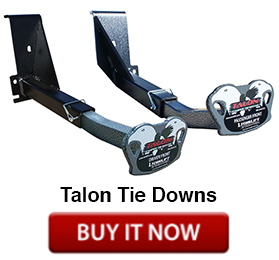
Tie downs are incredibly important when it comes to attaching a camper to your truck. There are two major kinds of truck camper tie downs available: bed-mounted and frame-mounted. We recommend using frame-mounted tie downs because they use independent tie down points that bolt directly to the truck frame. This helps you avoid bed and bumper damage that is common with bed-mounted tie downs. Most Torklift frame-mounted tie downs are no drill and use pre-existing bolt holes on the frame to avoid drilling.
If you’re also concerned about road corrosion caused by salt, water or chemicals and how they will affect your tie downs, we have the perfect solution for you. The Torklift Talon tie down is made of aluminum and stainless steel and comes with rust-free corrosion protection for life. Manufactured to specifically fit your truck, Talon tie downs offer the best and safest ride quality in the industry and have a 100 percent no-drill installation.
[caption id="attachment_5080" align="alignright" width="212"]
Frame-mounted tie downs attach to the strongest part of your truck for safe hauling![/caption]
Tie downs are incredibly important when it comes to attaching a camper to your truck. There are two major kinds of truck camper tie downs available: bed-mounted and frame-mounted. We recommend using frame-mounted tie downs because they use independent tie down points that bolt directly to the truck frame. This helps you avoid bed and bumper damage that is common with bed-mounted tie downs. Most Torklift frame-mounted tie downs are no drill and use pre-existing bolt holes on the frame to avoid drilling.
If you’re also concerned about road corrosion caused by salt, water or chemicals and how they will affect your tie downs, we have the perfect solution for you. The Torklift Talon tie down is made of aluminum and stainless steel and comes with rust-free corrosion protection for life. Manufactured to specifically fit your truck, Talon tie downs offer the best and safest ride quality in the industry and have a 100 percent no-drill installation.
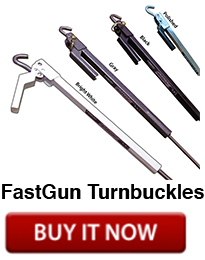
[caption id="attachment_5080" align="alignright" width="212"]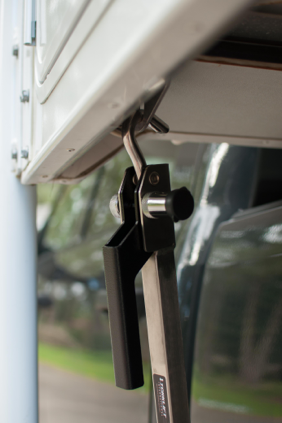 The FastGuns take seconds to install and remove - the easiest turnbuckle to use in the industry![/caption]
Truck Camper Turnbuckles
Just as there are different kinds of tie downs for truck campers, there are many different turnbuckles available as well. While each have their merits, there’s only one that stands above the rest when it comes to stability and safety. The FastGun turnbuckle is designed to connect and disconnect in seconds. The quick release handles allow for easy tool-free adjustment and tension indicators determine perfect tension every time. Watch the video below to learn how to install the different types of turnbuckles that Torklift offers:
What’s even better is if you use the Torklift tie downs and spring-loaded turnbuckles together, Torklift warranties the truck frame and camper anchor points for the extent of the manufacturer warranty – call for more details.
There you have it – the five steps of mounting a truck camper. As you continue to go camping in your truck camper, the mounting process will get easier and faster. If you’re interested in purchasing our frame-mounted tie downs, truck camper turnbuckles or any of our truck camper accessories for your rig, feel free to contact us using the information below. We are more than happy to help you get set up with all the items you’ll need to haul your camper safely and confidently!
The FastGuns take seconds to install and remove - the easiest turnbuckle to use in the industry![/caption]
Truck Camper Turnbuckles
Just as there are different kinds of tie downs for truck campers, there are many different turnbuckles available as well. While each have their merits, there’s only one that stands above the rest when it comes to stability and safety. The FastGun turnbuckle is designed to connect and disconnect in seconds. The quick release handles allow for easy tool-free adjustment and tension indicators determine perfect tension every time. Watch the video below to learn how to install the different types of turnbuckles that Torklift offers:
What’s even better is if you use the Torklift tie downs and spring-loaded turnbuckles together, Torklift warranties the truck frame and camper anchor points for the extent of the manufacturer warranty – call for more details.
There you have it – the five steps of mounting a truck camper. As you continue to go camping in your truck camper, the mounting process will get easier and faster. If you’re interested in purchasing our frame-mounted tie downs, truck camper turnbuckles or any of our truck camper accessories for your rig, feel free to contact us using the information below. We are more than happy to help you get set up with all the items you’ll need to haul your camper safely and confidently!
 Torklift Central
315 Central Ave N Kent, WA 98032
[email protected]
877-373-9195
www.torkliftcentral.com
Torklift Central
315 Central Ave N Kent, WA 98032
[email protected]
877-373-9195
www.torkliftcentral.com
 Written by Kerstin Stokes:
As a graduate from the College of Idaho with a B.A. in both History and Art, Kerstin has found her passion for writing and marketing. She enjoys looking up tasty recipes, spoiling her cat Clio and daydreaming about future travels.
Written by Kerstin Stokes:
As a graduate from the College of Idaho with a B.A. in both History and Art, Kerstin has found her passion for writing and marketing. She enjoys looking up tasty recipes, spoiling her cat Clio and daydreaming about future travels.