

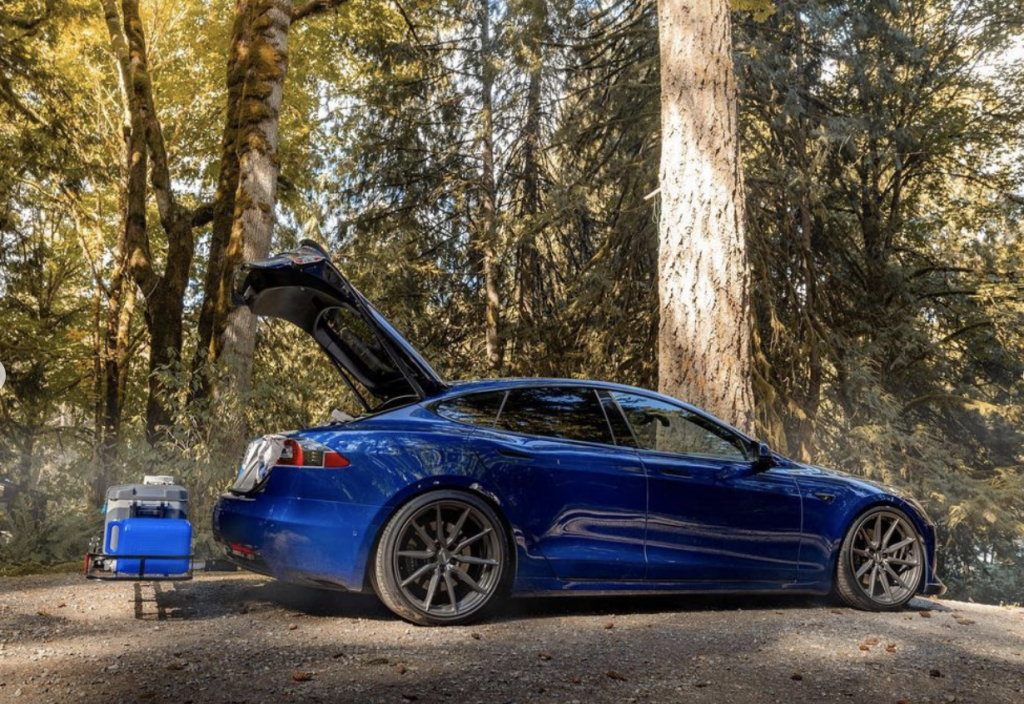
Your Tesla Model S is already an electric marvel, but why not take it to the next level by adding some serious towing power? With the stainless steel EcoHitch, your Model S can haul bikes, trailers, and cargo without compromising its sleek look. Follow along with this simple guide for a seamless installation (and a few chuckles along the way).
Step 1: Let’s Lift Off!
Start by placing your Model S in high suspension mode—because we’re going to need some room to work underneath. If you’re using a jack or lift, be sure to use Tesla-approved lifting points. After all, your Tesla deserves VIP treatment.
Step 2: Time to Uncover the Underbelly
Locate the underbelly panels at the rear of your Tesla. Begin by removing the innermost fins attached to the chrome trim. These fins unsnap once you remove the bolts and clips—kind of like peeling back a secret layer of your car’s armor.
Step 3: Label Those Fasteners

Remove the lower underbelly panel closest to the rear of the vehicle. Here’s a pro tip: Label where each screw and clip comes from. Trust us, your future self will thank you during reassembly.
Step 4: Move Forward, One Panel at a Time

Continue moving forward on the car, removing the next underbelly panel. It’s like peeling an onion—but with less crying and more adventure potential.
Step 5: Fender Fun

Head to the lower rear inner fender well and remove two push-in rivets that attach the fender to the bumper. Then, remove three rear clips to access a hidden bolt. Repeat this on the other side because symmetry matters.
Step 6: A Clip Here, a Screw There

Remove the push pin clip on each side of the wheel well. At this point, you’re probably getting pretty good at finding hidden fasteners. Keep it up—you’re almost there!
Step 7: Hidden Treasure (Torx Screw)

Gently pull back the fender felt and remove the hidden Torx screw (T25) that connects the bumper to the body. It’s like finding buried treasure, except it’s a screw—and way more satisfying.
Step 8: Open the Hatch
Pop open the rear hatch and remove the carpet liners inside the trunk. Time to make your Tesla feel like it’s getting a luxury spa treatment.
Step 9: Strip the Weather (Stripping)

Peel back the weather stripping and gently remove the plastic panel inside the trunk by pulling upward. It might take a bit of force, but be gentle—no need to get aggressive.
Step 10: More Panels, More Progress

Remove the curved plastic panel from the trunk, too. At this point, you’re deep into Tesla anatomy, but don’t worry—we’re almost at the exciting part.
Step 11-12: Keep Peeling Back
Remove any remaining clips and peel back the carpet liner to access the recessed nuts inside the trunk. A 10mm socket and a bit of patience will do the trick here.
Step 13: The Grand Bumper Reveal
It’s bumper time! Gently peel back the bumper fascia starting from the driver’s side, working your way toward the rear. Be careful—it’s a bit of a dance to get it off without damaging anything. You might want a second set of hands for this part.
Step 14-15: Bye-Bye Cross Member


With the bumper off, mark an arrow on the impact bar cover (so you know which way is up) and remove the rear cross member. The good news? You won’t need this piece anymore. Consider it Tesla weight savings.
Step 16 - 17: The Main Event – Hitch Installation
Place the EcoHitch on the studs where the cross member used to be. Use nylon fender washers to ensure proper alignment, and secure the hitch using M10-1.5 serrated flange nuts. Torque them to 40 ft-lbs. Boom—your Tesla just got a lot more capable.
Step 18: Sensor Relocation
Reattach the bumper sensors using the provided double-sided tape. Bundle any excess wiring with a zip tie. Neat and tidy wins the day.
Step 19 - 20: Time to Trim (But Only a Little)
Before reinstalling the bumper, you’ll need to trim a port for the EcoHitch’s receiver. Using the provided template, mark your cutout spot on the bumper skin. A 4” hole saw is your best friend here. Just be sure to cut through the inner layer, not the outer one—no one wants an accidental “speed hole.”
Step 21 - 22: Reassembly and Final Touches
Once you’ve made the cut, reinstall the bumper, panels, and taillights in reverse order. Insert the ball-mount into the hitch and secure it with the 5/8”-11 x 3-1/2” bolt, lock washer, and flat washer. Torque that bolt to 112 ft-lbs. And you’re done!
Ready to Electrify Your Adventures?
Congratulations! Your Tesla Model S is now a towing machine. Whether you’re hauling bikes, gear, or a lightweight trailer, your EcoHitch has got you covered. Just don’t forget to retorque the bolts before each use—safety first!
If you need assistance or have questions, the Torklift Central team is always here to help. Happy towing—and don’t forget to tag us in your #EcoHitch adventures!